How to replace your API Keys with Access Tokens
This is a step-by-step guide to replacing your existing API Keys with Access Tokens, ahead of the upcoming deprecation.
This deprecation does not affect iOS or Android API Keys, so you do not need to replace these.
Note: If you intend to make an integration available publicly, and therefore need to access other people's Intercom data, you will need to set up OAuth instead.
Step 1: Create your Access Token
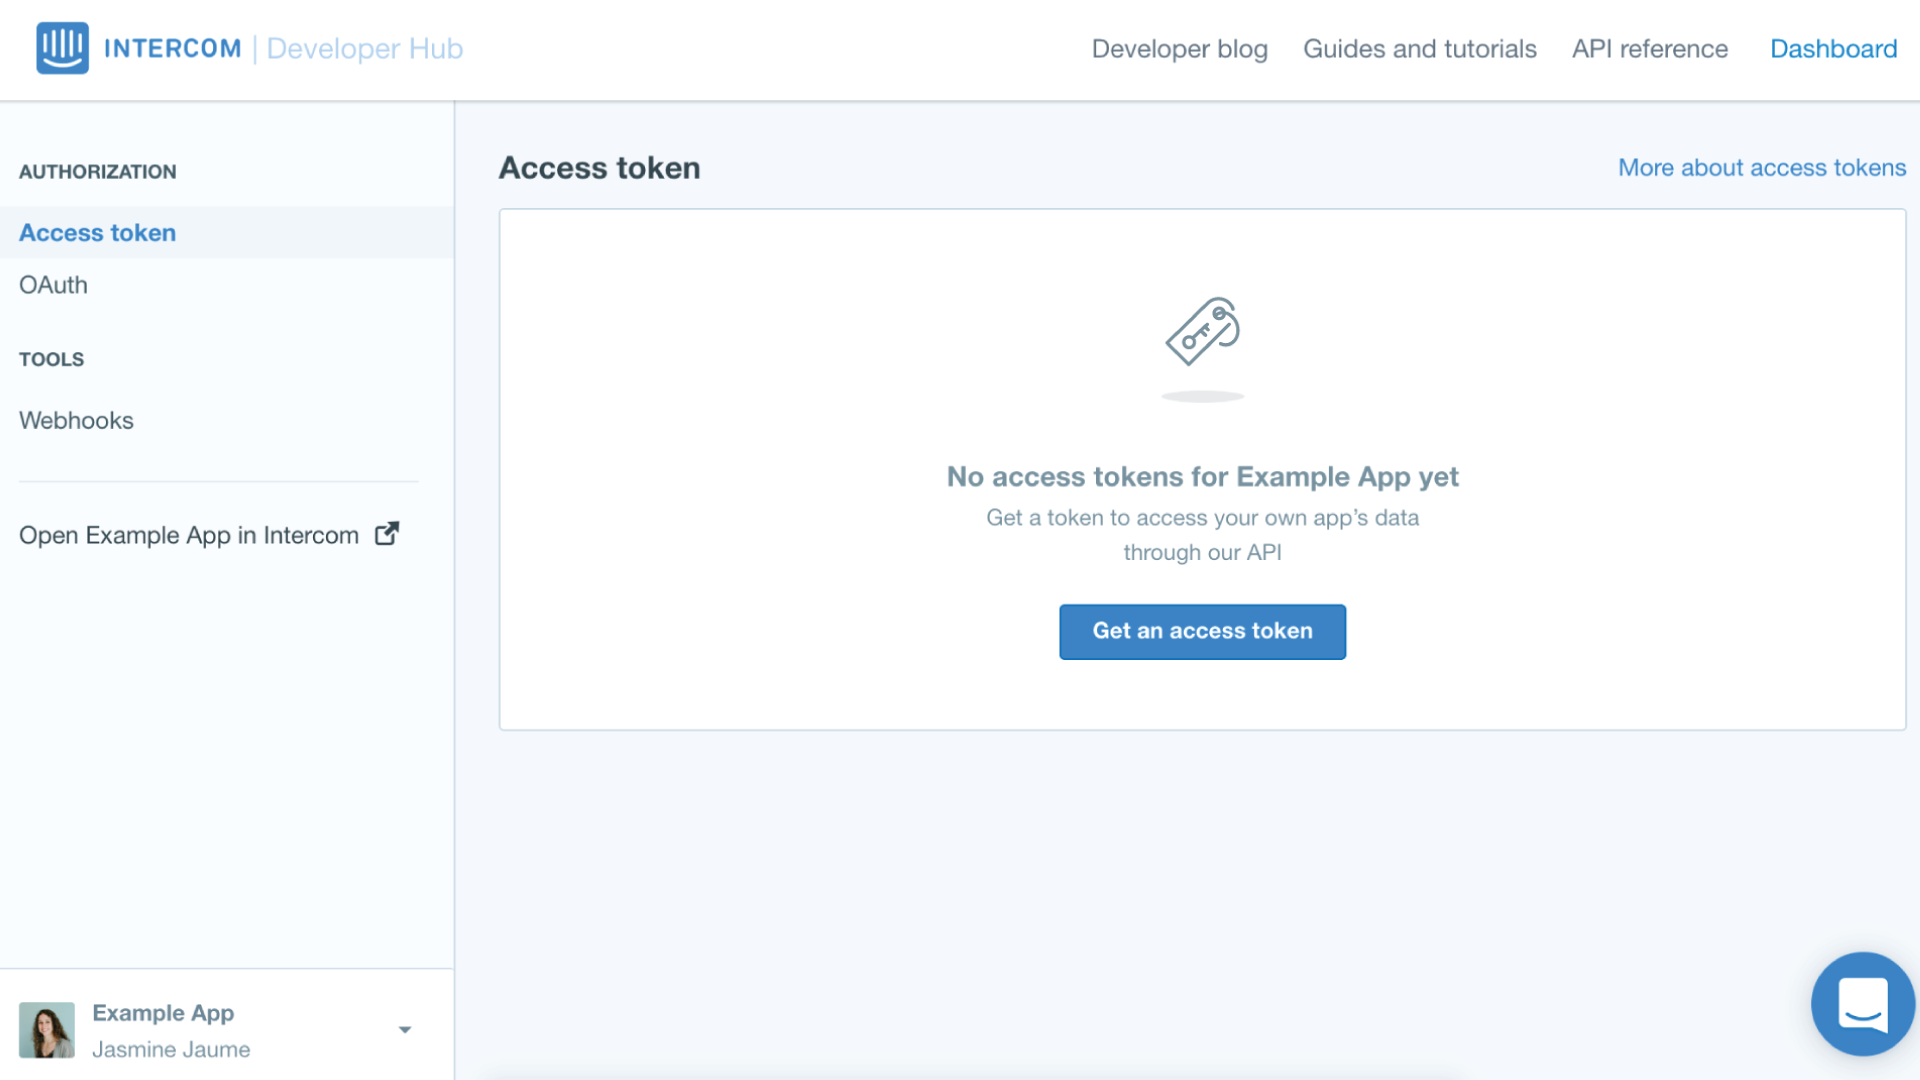
Go to the dashboard in the Intercom Developer Hub by clicking here or by clicking on Dashboard at the top of this page, and and click 'Get an Access Token'.
If you already have an Access Token listed here, you can skip to step 2.

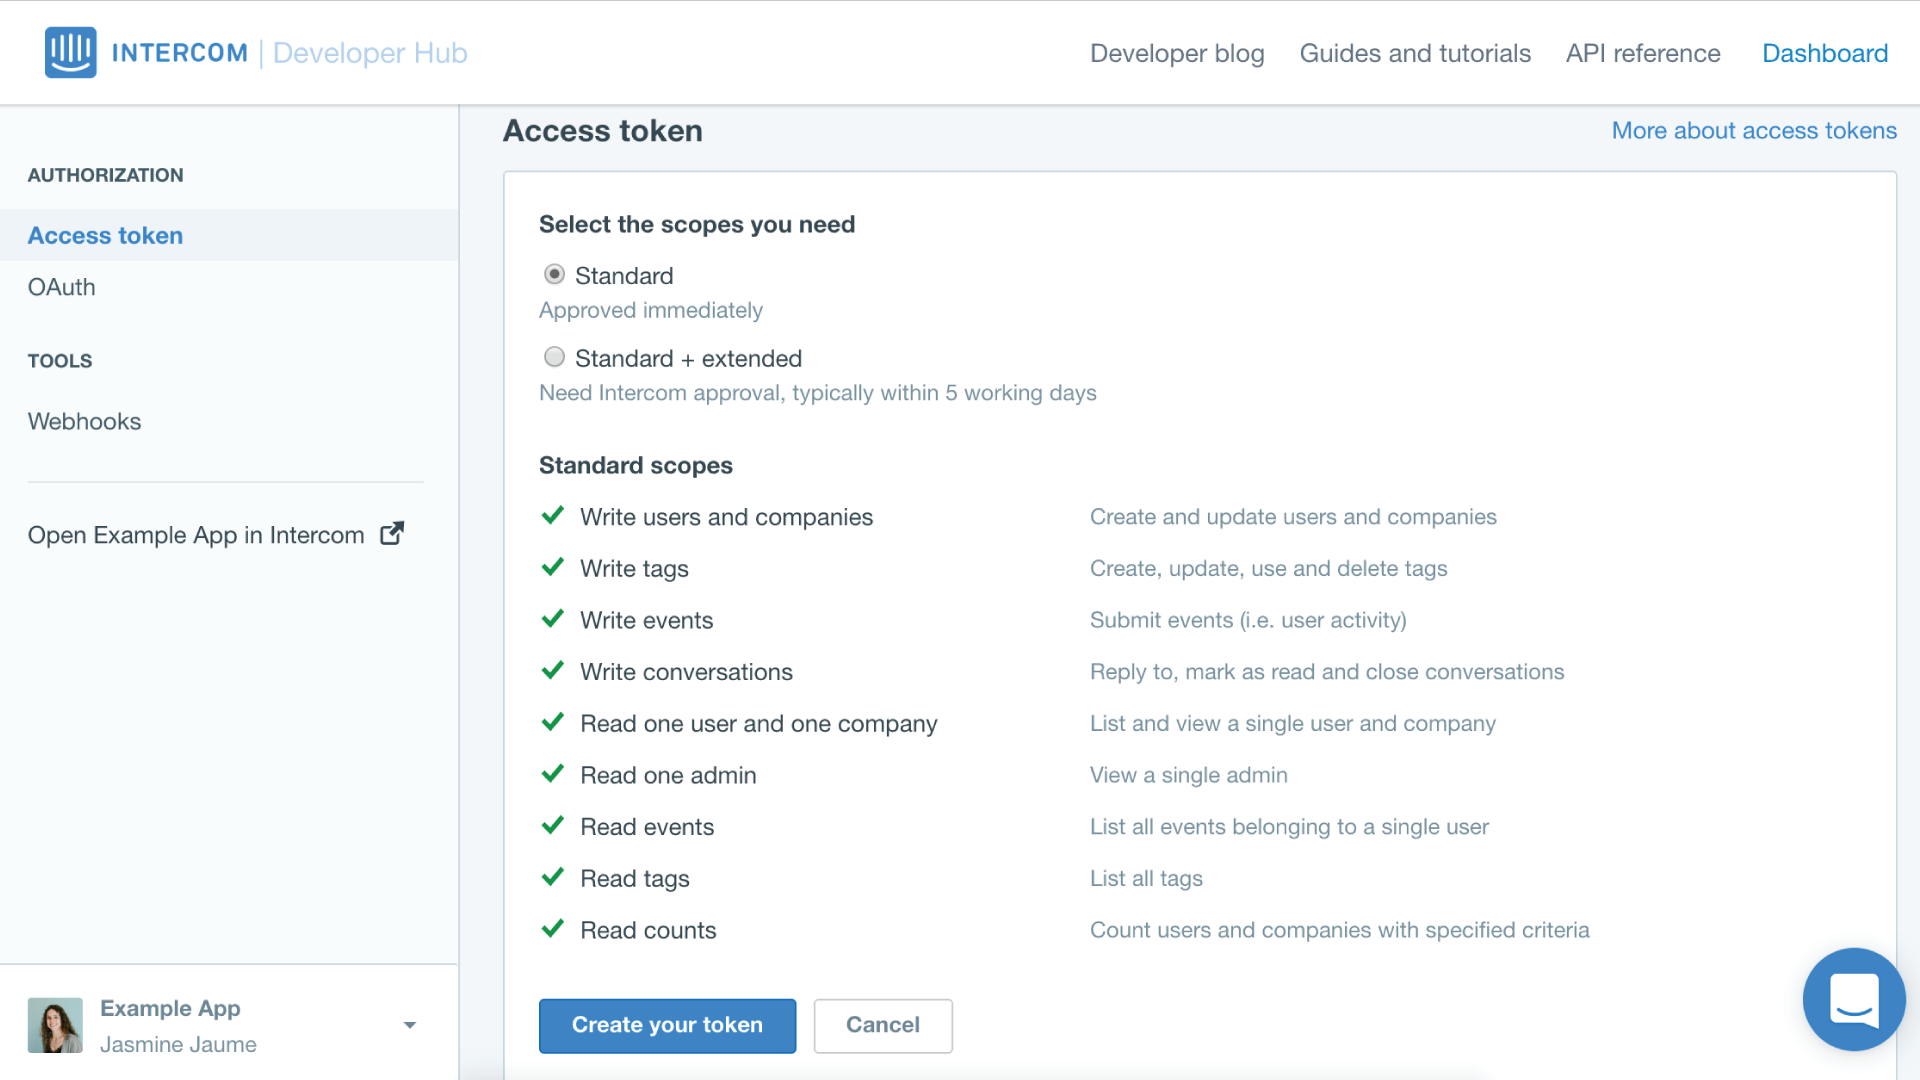
Decide which levels of scopes (i.e. permissions) you need:
- Standard Scopes: these scopes will be approved and useable straight away
- Extended Scopes: these scopes require approval as they access more sensitive data – we usually approve requests within 24 hours. You'll be able to use standard scopes in the meantime.
You can update your scopes at any time.

Standard scopes should cover most use cases. The table below shows the Standard and Extended scopes:
| Scope | Description |
|---|---|
| Write users and companies | Create and update users and companies. Also allows execution of bulk actions on users and Leads. |
| Write tags | Create, update, use and delete tags |
| Write events | Submit events (i.e. user activity) |
| Write conversations | Reply to, mark as read and close conversations |
| Read one user and one company | List and view a single user, lead or company |
| Read one admin | View a single admin |
| Read events | List all events belonging to a single user |
| Read tags | List all tags |
| Read counts | Count users and companies with specified criteria |
| [Extended] Read and list users and companies | List and view all segments, users and companies |
| [Extended] Read conversations | View conversations |
| [Extended] Read admins | List and view all admins |
| [Extended] Manage webhooks | Create and update webhooks |
Step 2. Replace your API Keys
Once you've created your Access Token, you can copy your token and use it in much the same way as you would use an API Key. Wherever you are using your app's API Keys, you now need to replace the Keys with your new Access Token.
You can only have one Access Token per app, and will use this token to replace all your existing API Keys.
API Keys had a username/password format, but Access Tokens do not use this format. You have two options when replacing your API Keys:
- Continue using the username/password format, leaving the password field blank
- Use the bearer token format as described here
You can find more on using your Access Token here.
You don't need to do anything with your old API Keys once you've replaced them - they'll be disabled automatically on your given date.
HTTP 401 "UNAUTHORIZED"
Note that if you have standard scopes and you see this error when using your Access Token, you need to apply for extended scopes.
If you previously provided your API Key to use a third party integration
Access Tokens should never be shared outside of your company - they give access to your private Intercom data and should be treated like a password. Integrators are now required to use OAuth and should never ask you for your Access Token.
If you previously provided an API Key to a third party in order to use an integration, they'll need to ensure their integration is using OAuth for it to continue to work. We recommend speaking to them directly if you're unsure.
Step 3. Managing your Access Token
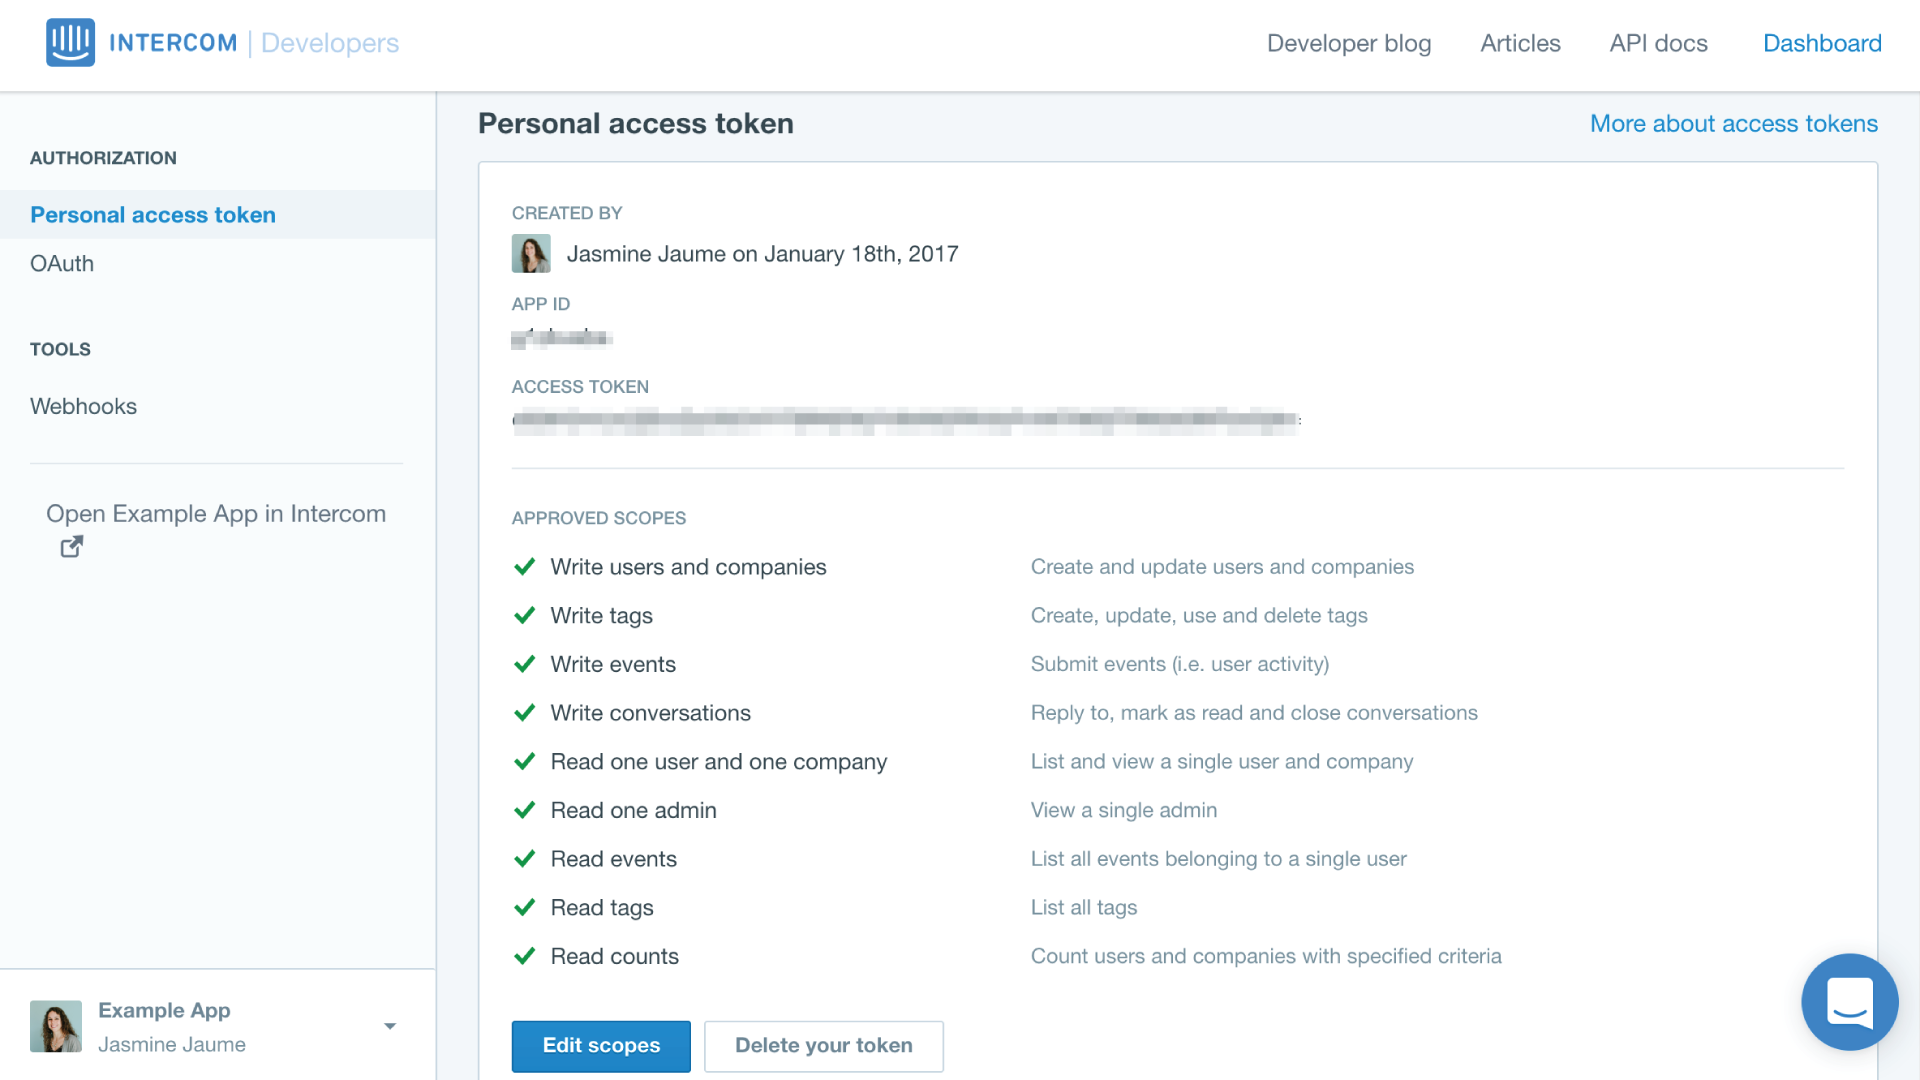
Once you have created your Access Token you will see it in the same section in your Dashboard, where you can edit or delete the token.

Once you've completed these steps, you're good to go. If you need help or have any questions, just message us and we'll be happy to help 👍
Updated over 7 years ago