Android
Installing Intercom on Android
Install Intercom to see and talk to users of your Android app. Intercom for Android supports API 15 and above.
Note: We recommend using the latest available compileSdkVersion.
Step 1 - Install Intercom
If you’re new to Intercom, you’ll need to create an account and start your free trial. Then you have three options:
Option 1: Install Intercom with Google Cloud Messaging (GCM)
Add the following dependency to your app's build.gradle file:
dependencies {
    compile 'io.intercom.android:intercom-sdk:5.+'
}
Option 2: Install Intercom with Firebase Cloud Messaging (FCM)
Add the following dependency to your app's build.gradle file:
dependencies {
    compile 'io.intercom.android:intercom-sdk-base:5.+'
    compile 'io.intercom.android:intercom-sdk-fcm:5.+'
}
Option 3: Install Intercom without Push Messaging
If you'd rather not have push notifications in your app, you can use this dependency:
dependencies {
    compile 'io.intercom.android:intercom-sdk-base:5.+'
}
Important
If you choose this method you won’t be able to send push messages.
Step 2 - Initialize Intercom
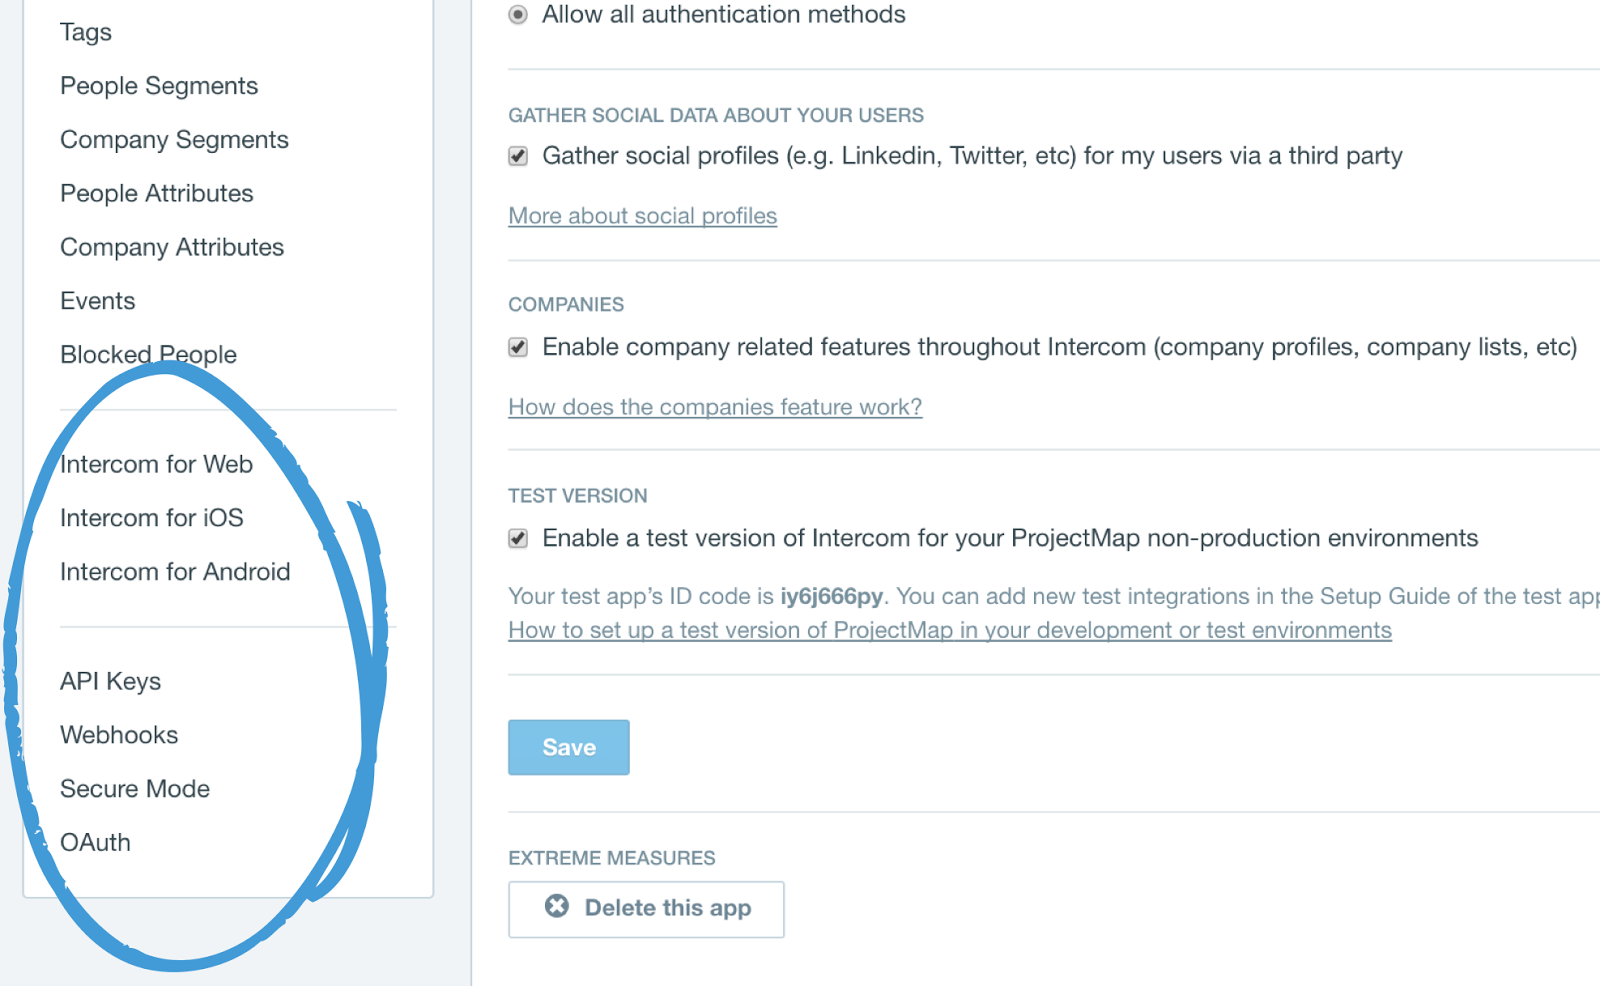
First, you'll need to get your Intercom app ID and Android API key. To find these, just go to 'Settings > Installation > Android' or follow this link https://app.intercom.io/a/apps/_/settings/android

Then, initialize Intercom by calling the following in the onCreate() method of your application class:
Intercom.initialize(this, "your api key", "your app id");
Note: If you don't currently implement a custom application, you’ll need to create one. A custom application looks like this:
public class CustomApplication extends Application {
    @Override public void onCreate() {
        super.onCreate();
        Intercom.initialize(this, "your api key", "your app id");
   }
}
You’ll need to update your manifest to use your application:
<application
    android:name=".CustomApplication">
</application>
Important
Intercom must be initialized inside the application
onCreate()method. Initializing anywhere else will result in Intercom not behaving as expected and could even result in the host app crashing.
Step 3 - Create a user
Finally, you’ll need to create a user, like this:
Registration registration = Registration.create().withUserId("123456");
Intercom.client().registerIdentifiedUser(registration);
That’s it - now you’ve got a working Intercom app. However, you’ll need to register your users before you can talk to them and track their activity in your app.
Register your users (to talk to them and see their activity)
Depending on the type of app you have, you can register logged in users, logged out users or both. Here’s tailored instructions for each option:
Register your logged in users
If you have an app with logged in (identified) users only (like Facebook, Instagram or Slack) follow these instructions:
- First, you’ll need to register your user, like this:
private void successfulLogin() {
    /* For best results, use a unique user_id if you have one. */
    Registration registration = Registration.create().withUserId("123456");
    Intercom.client().registerIdentifiedUser(registration);
}
Note
If you don't have a unique userId to use here, or if you have a userId and an email you can use with
Email(String email)on the Registration object.
- You’ll also need to register your user anywhere they sign in. Just call:
if (loggedIn) {
    /* We're logged in, we can register the user with Intercom */
    Registration registration = Registration.create().withUserId("123456");
    Intercom.client().registerIdentifiedUser(registration);
}
Register your logged out users
If you have an app with logged out (unidentified) users only (like Angry Birds or a flashlight app), you can do the following:
@Override public void onCreate() {
    super.onCreate();
    Intercom.initialize(this, "your api key", "your app id");
    Intercom.client().registerUnidentifiedUser();
}
Register your logged in and logged out users
If you have an app with both logged in and logged out users (like Google Maps or YouTube), follow these instructions:
- First, you’ll need to register your user, like this:
private void successfulLogin() {
    /* For best results, use a unique user_id if you have one. */
    Registration registration = Registration.create().withUserId("123456");
    Intercom.client().registerIdentifiedUser(registration);
}
Note
If you don't have a unique userId to use here, or if you have a userId and an email you can use
withEmail(String email)on the Registration object.
- You’ll also need to register your user anywhere they sign in. Just call:
if (loggedIn) {
    /* We're logged in, we can register the user with Intercom */
    Registration registration = Registration.create().withUserId("123456");
    Intercom.client().registerIdentifiedUser(registration);
} else {
    /* Since we aren't logged in, we are an unidentified user.
     * Let's register. */
    Intercom.client().registerUnidentifiedUser();
}
How to unregister a user
When users want to log out of your app, simply call logout like so:
private void logout() {
    /* This clears the Intercom SDK's cache of your user's identity
     * and wipes the slate clean. */
    Intercom.client().logout();
}
Best practices for registering users
- Don’t use an email address as a userId as this field is unique and cannot be changed or updated later. If you only have an email address, you can just register a user with that.
- If you register users with an email address, the email must be a unique field in your app. Otherwise we won't know which user to update and the mobile integration won't work.
Note
Intercom knows when your app is backgrounded and comes alive again, so you won’t need to re-register your users.
What next?
Once you've installed Intercom it's time to configure it for your Android app.
- Once you've got Intercom installed it's time to configure it for your Android app.
- Enable push notifications so you can send push messages.
- Enable Identity Verification for your Android app.
Updated over 7 years ago