iOS
Configuring Intercom for Mobile on iOS
Track who your users are and what they do in your mobile app and customize the Intercom Messenger. Here’s how to configure Intercom for iOS:
Update a user
You can send any data you like to Intercom from standard user attributes that are common to all Intercom users to custom user attributes that are unique to your app.
The complete list of standard user attributes that can be updated are described in the ICMUserAttributes object. Standard user attributes such as a user's name or email address can be updated by calling:
ICMUserAttributes *userAttributes = [ICMUserAttributes new];
userAttributes.name = @"Bob";
userAttributes.email = @"[email protected]";
[Intercom updateUser:userAttributes];
let userAttributes = ICMUserAttributes()
userAttributes.name = "Bob"
userAttributes.email = "[email protected]"
Intercom.updateUser(userAttributes)
Typically our customers see a lot of value in sending custom data that relates to customer development, such as price plan, value of purchases, etc. Custom user attributes can be created and modified by setting the customAttributes on the ICMUserAttributes object with a dictionary.
ICMUserAttributes *userAttributes = [ICMUserAttributes new];
userAttributes.customAttributes = @{@"paid_subscriber" : @YES,
                                    @"monthly_spend"   : @155.5,
                                    @"team_mates"      : @3};
[Intercom updateUser:userAttributes];
let userAttributes = ICMUserAttributes()
userAttributes.customAttributes = ["paid_subscriber": true,
                                   "monthly_spend"  : 155.5,
                                   "team_mates"     : 3]
Intercom.updateUser(userAttributes)
You don’t have to create attributes in Intercom beforehand. If a custom attribute hasn't been seen before, it will be created for you automatically.
You can also set company data by setting an array of ICMCompany objects on the ICMUserAttributes object, like:
ICMCompany *company = [ICMCompany new];
company.name = @"My Company";
company.companyId = @"abc1234";

ICMUserAttributes *userAttributes = [ICMUserAttributes new];
userAttributes.companies = @[company];
[Intercom updateUser:userAttributes];
let company = ICMCompany()
company.name = "My Company"
company.companyId = "abc1234"
let userAttributes = ICMUserAttributes()
userAttributes.companies = [company]
Intercom.updateUser(userAttributes)
- companyId is a required field for adding or modifying a company.
- A detailed description of the company model is available in the ICMCompany object.
Submit an event
You can log events in Intercom that record what users do in your app and when they do it. For example, you could record the item a user ordered from your mobile app, and when they ordered it.
[Intercom logEventWithName:@"ordered_item" metaData: @{
    @"order_date": @1392036272,
    @"stripe_invoice": @"inv_3434343434",
    @"order_number": @{
      @"value": @"3434-3434",
      @"url": @"https://example.org/orders/3434-3434"}
 }];
Intercom.logEvent(withName: "ordered_item", metaData:[
            "order_date": 1392036272,
            "stripe_invoice":"inv_3434343434",
            "order_number": [
                "value":"3434-3434",
                "url":"https://example.org/orders/3434-3434"]
            ])
You’ll find more details about how events work and how to submit them here.
Customize the Intercom Messenger
We definitely recommend that you customize the Intercom Messenger so that it feels completely at home on your mobile app. Here’s how:
- Select the color and language of the Messenger and how personalize your profiles.
- Follow the below steps to choose how the launcher appears and opens for your users.
Choose how the launcher appears and opens for your users
If you’d like the standard launcher to appear on the bottom right-hand side of your screen, just call:
[Intercom setLauncherVisible:YES];
Intercom.setLauncherVisible(true)
Create a custom launcher
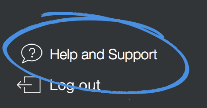
However, if you’d like the Messenger to open from another location in your mobile app, you can create a custom launcher. This allows you to specify a button, link or element that opens the Messenger. For example, you can trigger the launcher to open when a customer taps on your ‘Help and Support’ button.

If you have a custom launcher, you can call:
[Intercom presentMessenger];
Intercom.presentMessenger()
Then we’ll ensure the Messenger opens in the best place for each user.
For example:
- If a user has one unread conversation, we open that conversation.
- If a user has no conversations, we open the composer.
- If a user has more than one unread conversation, we open the conversations list.
- If a user has no unread conversations, we open the last screen they were on when they closed it.
Show your user’s unread message count
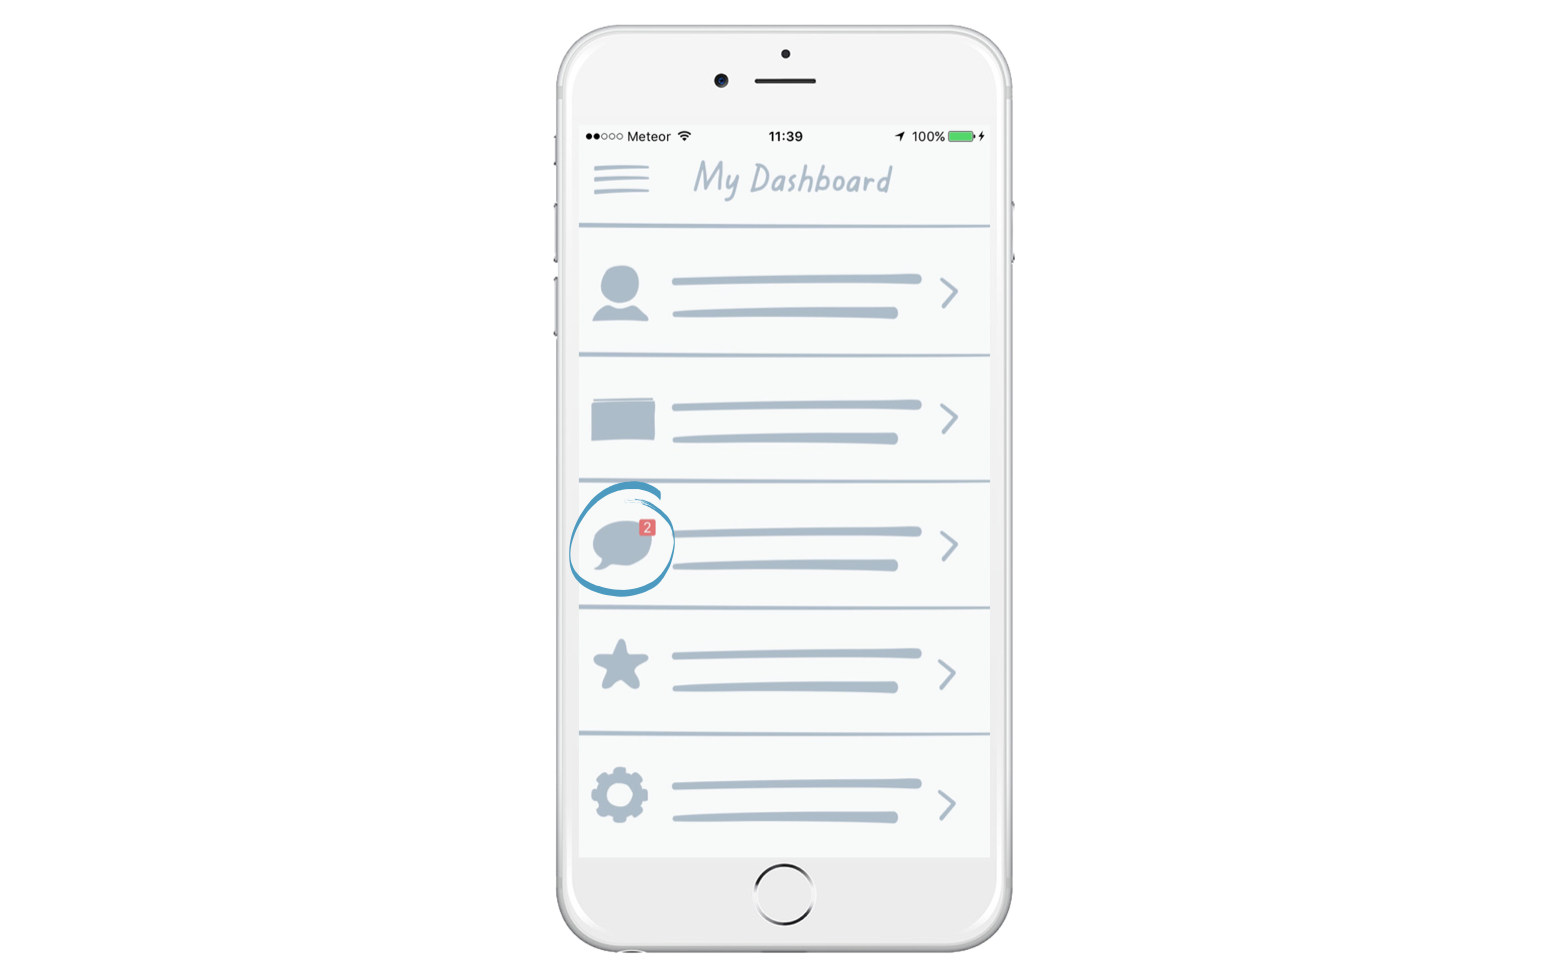
Now you can show how many unread conversations your user has on your custom launcher. Even if a user dismisses a notification, they’ll still have a persistent indicator of unread conversations.

Just grab the current count with this method:
[Intercom unreadConversationCount];
Intercom.unreadConversationCount()
Then, start listening for updates by observing an NSNotification
[[NSNotificationCenter defaultCenter] addObserver:self
     selector:@selector(updateUnreadCount:)
         name:IntercomUnreadConversationCountDidChangeNotification
       object:nil];
NotificationCenter.default.addObserver(self,
                                       selector: #selector(YourClassName.updateUnreadCount(_:)),
                                           name: NSNotification.Name.IntercomUnreadConversationCountDidChange,
                                         object: nil)
Temporarily hide notifications
You can prevent in app messages from popping up in certain parts of your app, by calling:
[Intercom setInAppMessagesVisible:NO];
Intercom.setInAppMessagesVisible(false)
You can hide the Intercom Messenger in your app, by calling:
[Intercom hideMessenger];
Intercom.hideMessenger()
Articles Help Center
The iOS Messenger supports opening up your Article Help Center.
https://docs.intercom.com/educating-your-customers .
To open up the Help Center simply call [Intercom presentHelpCenter] and we will display a ViewController with your Help Center content in it.
Make sure Help Center is turned on
If you don't have Help Center enabled in your Intercom settings the method
presentHelpCenterwill fail to load. To enable your Help Center please go here and click the "Turn On Help Center" button.
What’s next?
Now that you have Intercom configured it's time to:
- Enable Identity Verification
- Configure your app for Push Notifications.
Updated over 7 years ago